Thursday, November 17, 2022
Apple Steps Up
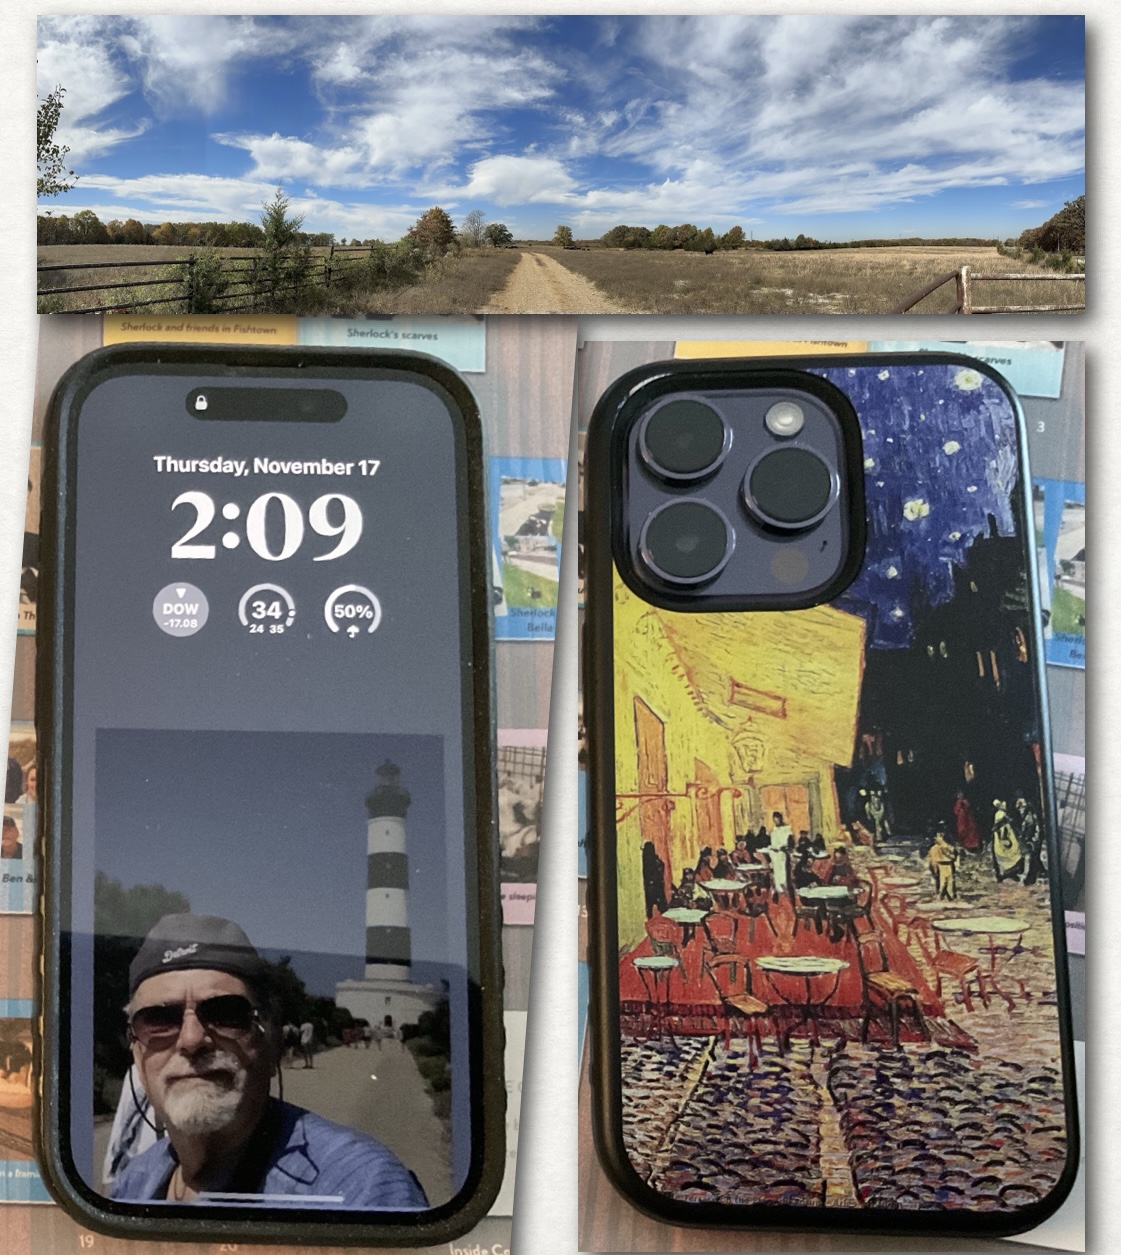
I know this may be premature, but the iPhone 14 has made major improvements in panorama photography. I have been using the ‘pano’ feature—the only phone that has it—for years. But, the older phone cameras were not good and the pano had no features. Now, the iPhone 14 has an unbelievable 49MP camera and the pano feature allows zooming. I know this sounds trivial, but the lack of zooming was a showstopper. Anyway, a few weeks ago I took the pano shown just to check it out. My judgment is based upon printing it 60” long. It looked great! My future travel plans do not include taking along my Sony A-7. That’s sad, but technology evolves. I started with a Hasselblad until SLRs caught up, in my view. Now, maybe I will leave that behind, too. Only time will tell.
Monday, May 16, 2022
Revised Picture Centering
As I mentioned previously, a difficulty with floater framing is centering the picture. I posted about the use of shims to center the photo as I inserted screws in the rear. But, now I’m trying to glue the photo in from the front and inserting screws later. This way you can visually center the photo before the wood glue dries.
Tuesday, January 25, 2022
Panoman’s NFTs
I have created 5 NFTs—non-fungible tokens—in the OpenSea application. It was first necessary to purchase Ethereum cryptocurrency, in my case using the Coinbase app, and transfer it into my coinbase wallet. I originally bought Dogecoin, but couldn’t figure out how to use it. Now I have 5 completely unique NFTs that I own. After my Ethereum purchase, I put my NFTs up for sale. The ‘dirty little secret’ of the sale is the high so-called ‘Gas fee’. It is a mining fee paid to programmers that make the Blockchain work. In order to make money selling NFTs, they must sell for more than the gas fee, which can be several hundred dollars.🤞
Saturday, October 17, 2020
Modified Corner Folding
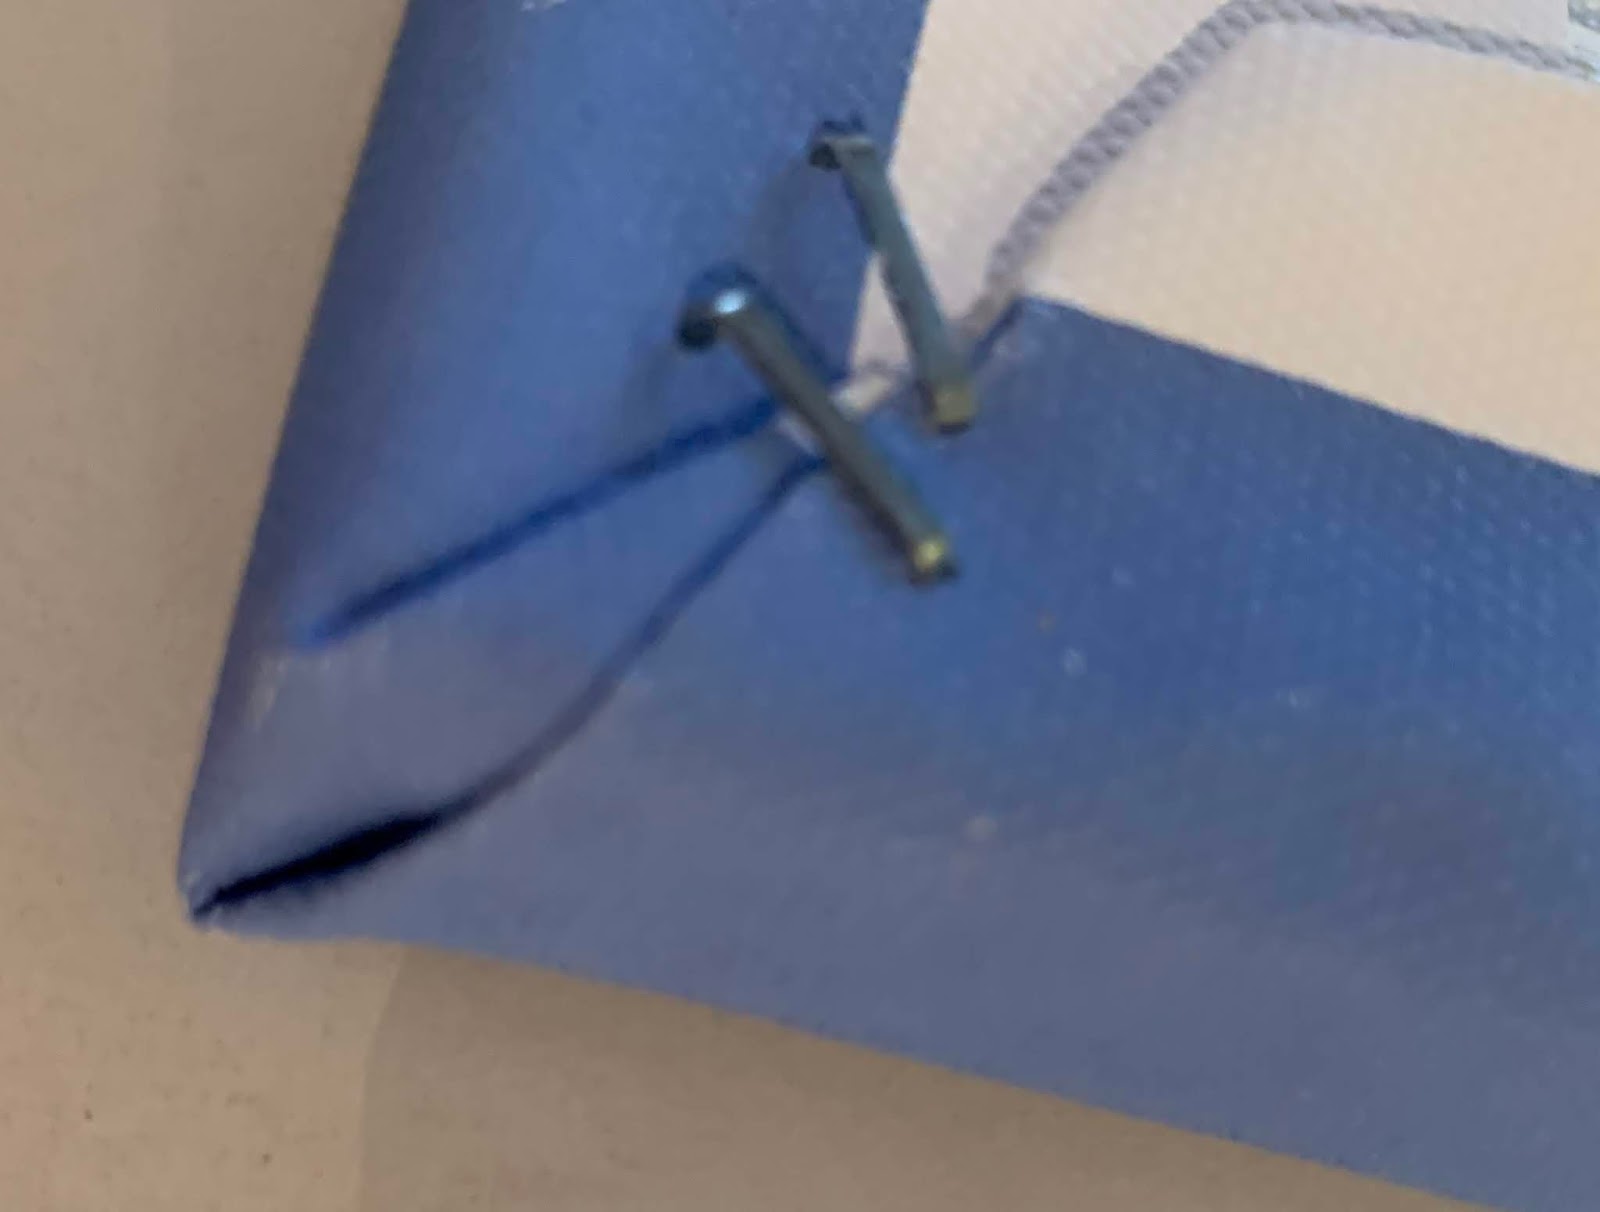
I recently discovered a different easier corner folding method, also on YouTube. This method features folding before final stretching and stapling. The pictures try to show this.
Wednesday, October 30, 2019
Easy peasy corner folding
I have looked at many Youtube videos on folding corners on stretched canvas. Here are my easy steps:
1. Pinch together edges
2. Trim off corner
3. Fold material—you must push material into the narrow space between the canvas and the wood such that the edges appear along the white lines as shown in the photo.
4. Staple
1. Pinch together edges
2. Trim off corner
3. Fold material—you must push material into the narrow space between the canvas and the wood such that the edges appear along the white lines as shown in the photo.
4. Staple
Sunday, February 24, 2019
Panoman’s Photography Truisms
- You can’t take a great photo in a hurry—almost impossible with a tour
- There’s almost always something in your photo you don’t want—mostly people
- Photoshop is your friend—see point 2
- Tripods are overrated
- Zoom lenses are absolutely necessary
- An iPhone can’t replace a good SLR
- Don’t stress over taking too many digital photos
- Photo books are a good thing
Monday, October 29, 2018
Centering Picture in Floater Frame
One of the most difficult aspects of floater framing, is centering the canvas stretched photo within the floater frame. This is because there is an arbitrary gap between the photo and frame. I tried several approaches until the current method shown in the figure below. I purchased 1/2" square dowl rods and inserted them in the spaces on all sides of the photo. This is done with the photo facing downward so the the screws can be inserted while the rods are in place. The rods slip out easily when finished.
Subscribe to:
Posts (Atom)