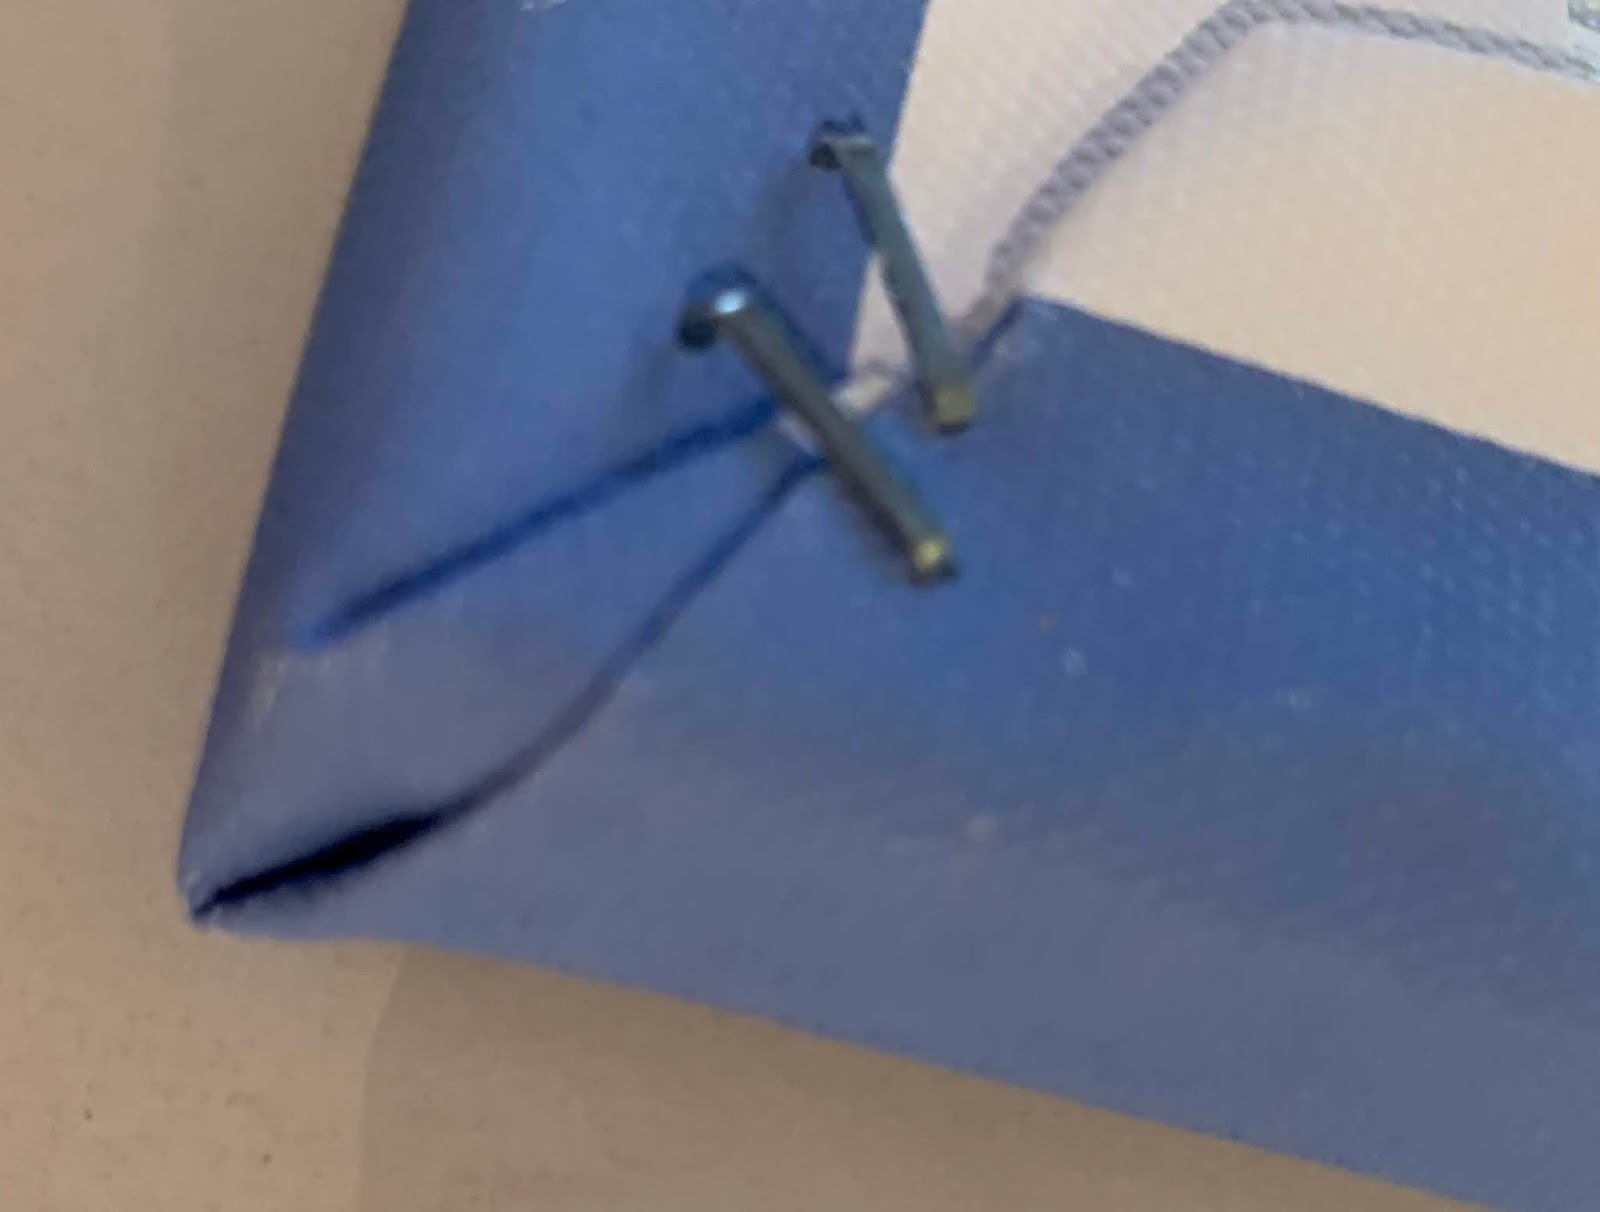
I recently discovered a different easier corner folding method, also on YouTube. This method features folding before final stretching and stapling. The pictures try to show this.
Saturday, October 17, 2020
Wednesday, October 30, 2019
Easy peasy corner folding
I have looked at many Youtube videos on folding corners on stretched canvas. Here are my easy steps:
1. Pinch together edges
2. Trim off corner
3. Fold material—you must push material into the narrow space between the canvas and the wood such that the edges appear along the white lines as shown in the photo.
4. Staple
1. Pinch together edges
2. Trim off corner
3. Fold material—you must push material into the narrow space between the canvas and the wood such that the edges appear along the white lines as shown in the photo.
4. Staple
Sunday, February 24, 2019
Panoman’s Photography Truisms
- You can’t take a great photo in a hurry—almost impossible with a tour
- There’s almost always something in your photo you don’t want—mostly people
- Photoshop is your friend—see point 2
- Tripods are overrated
- Zoom lenses are absolutely necessary
- An iPhone can’t replace a good SLR
- Don’t stress over taking too many digital photos
- Photo books are a good thing
Monday, October 29, 2018
Centering Picture in Floater Frame
One of the most difficult aspects of floater framing, is centering the canvas stretched photo within the floater frame. This is because there is an arbitrary gap between the photo and frame. I tried several approaches until the current method shown in the figure below. I purchased 1/2" square dowl rods and inserted them in the spaces on all sides of the photo. This is done with the photo facing downward so the the screws can be inserted while the rods are in place. The rods slip out easily when finished.
Sunday, June 24, 2018
Improved Frame
I was able to improve my process on my second self-made frame. On my first one I didn’t get the corners cut accurately enough and the mechanical fastening wasn’t done well. I decided to forget the corner joining device in favor of my power stapler. That worked REALLY well. The fast placement of the fasteners kept the frame from moving during stapling. Below is Pointe-du-Hoc in Normandy, France.
Wednesday, November 1, 2017
My First Professional-level Frame
I was able to purchase high quality frame molding in length to make 16" by 60" frames for my panorama photos mounted as gallery prints. I mitered the ends to fit the photo. Although I bought a corner joiner in order to press fasteners into the corners, I wasn't able to accomplish this due to the hardness of the material--ash. I held the frame together with a band clamp and glued the joints. Then I used 90 degree brackets on the back for rigidity. Below is the finished frame.


Tuesday, January 31, 2017
Gallery Wraps & Floater Frames
Canvas prints lend themselves to the framing process called gallery wraps. As the name implies, the canvas is wrapped around stretcher bars (shown above) and stapled. There are different types of stretcher bars some of which can be purchased at art supply stores. Because of the finished look, a photo can be displayed with or without a frame. If a frame is desired, the most convenient type is the floater frame. The floater frame is only attached from the back and a small space is left between the frame and the photo. These frames can be purchased completely assembled, unassembled, or can be made from wood trim with an L-shaped crossection (shown below).
Subscribe to:
Posts (Atom)